

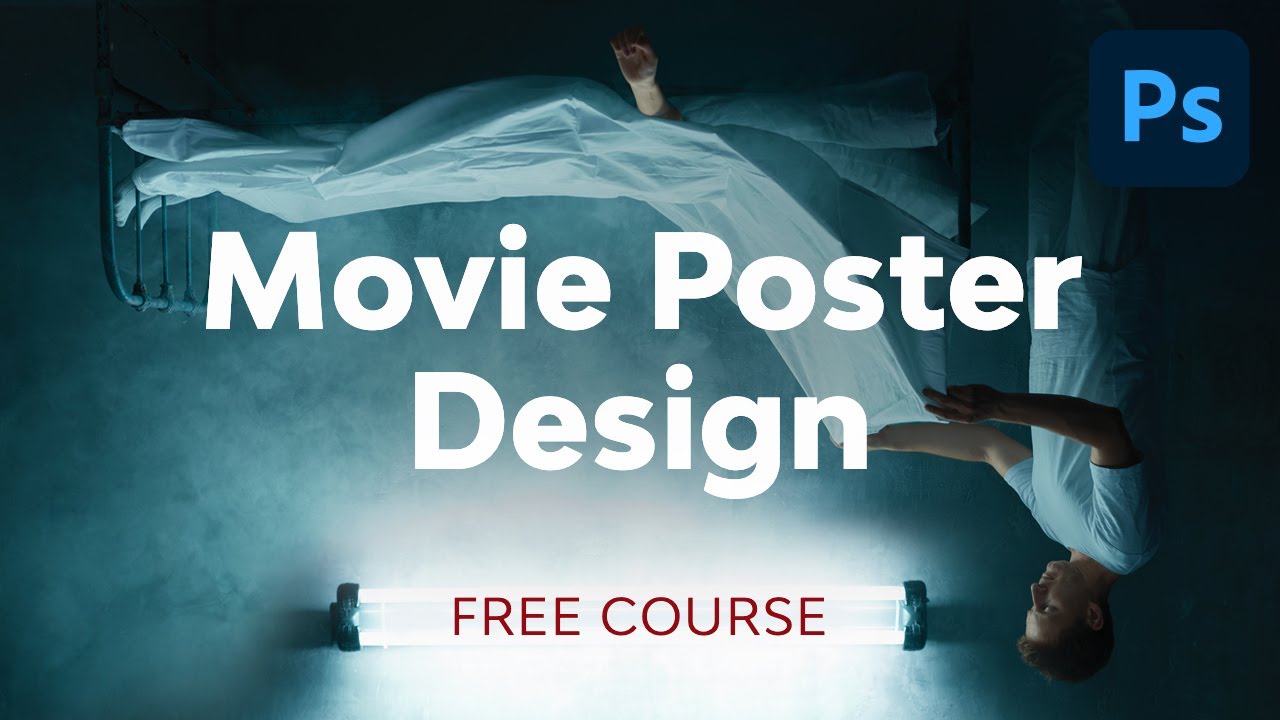
Learn how to use Adobe Photoshop in this detailed, easy-to-follow course. I'll teach you all the essential Photoshop tools and techniques, starting from scratch and building to more advanced skills.
Watch the Full Photoshop for Beginners Course
Jump straight to the Photoshop for beginners section you want to master:


What You'll Learn
- How to use Adobe Photoshop layers and layer styles
- How to work with color and adjustment layers
- How to retouch and manipulate images
- How to make selections and use masks
- How to use Photoshop Smart Objects
About Your Instructor


Daniel Walter Scott
Sharing is who I am, and teaching is where I am at my best. I'm a digital designer and a certified Adobe instructor. I've also won multiple Adobe teaching awards at their annual MAX conference.
1. Introduction
1.1 Welcome to the Course
This first section explains what the Adobe Photoshop course is all about. I'll explain all the topics we'll cover in the next three hours, and I'll tell you what you need to get started. Pretty much all you need is just a copy of Photoshop—you don't need any design experience because I'll start from zero, assuming no knowledge of the software or design.
"If you've never opened up Photoshop, or you've opened it and you've struggled with it, follow me and I will show you the best ways to make beautiful images in Adobe Photoshop. "
1.2 Getting Started
Now let's set up your workspace so that you can complete all the Photoshop beginner tutorials in the rest of the course. If you want to follow along throughout the course and complete all the exercises, you can download the free source files by clicking on the link below:
Also check out these related links:
- Unsplash.com
- Share Your Work! @tutsplus on Twitter
- @danlovesadobe on Twitter
2. Layers
2.1 How Photoshop Layers Work
OK, let's dive in and learn about some basic image adjustments:
- Auto Tone
- Auto Color
- Auto Contrast
These are some quick and easy techniques to help you make your images look better. We'll also look at how to add layers in Photoshop and how to edit them.


2.2 Combining Multiple Images
Now that you know a bit about photo adjustments, the next Photoshop for beginners tutorial is about navigating the software. More specifically, how do you work with multiple images at the same time, moving them around and combining multiple images to create a single end result?
We'll look at that in this video, and we'll also cover some keyboard shortcuts that will save you a lot of time while using Photoshop.


How to Combine Multiple Images in Photoshop
Open all the Images You Want to Combine
Go to File > Open. Navigate to the images you want, and hold Shift to select multiple images at once.
Move an Image
Choose the Move Tool. Click on the image you want to move, and drag it onto the tab of another image. Keep holding down your mouse, and then drop it into the new image.
Combine All the Images
Use the same technique to move all the images, and align them as necessary. You may need to resize the images using Edit > Transform > Scale.
3. Color and Adjustment Layers
3.1 Tone Adjustment With Levels
Let's jump to the next Photoshop learning section. The automatic adjustments we looked at earlier are a good first step, but if you want to get the most out of Photoshop, you'll need to do more. So let's look at levels now. The first step in correcting any photograph is getting the highlights, mid tones, and shadows correct. Learn how to use Photoshop’s Levels adjustments to make this happen.


3.2 Color Adjustment
The second step for achieving beautiful images is to ensure your colors are the best they can be! Continuing our work with Photoshop levels, let's look at how to change the color levels in Photoshop. Using Photoshop’s Vibrance and Saturation, we will correct the color in an image.


3.3 Hue Adjustments
Sometimes you need to adjust the colors in more detail. So now let's explore how to fix the color cast of an image. You will also learn how to completely change a specific color in an image.


We'll do all of that with the help of the Hue and Saturation sliders, which you can find here:


4. Text
4.1 How to Work With Type
Watch video lesson (12 mins) ↗
This Photoshop learning chapter is all about working with text. Watch the video to see how to create a simple, elegant postcard flyer that looks like this:


In this Adobe Photoshop course section, we'll cover how to create the correct page size and dimensions for a printable postcard, and you will also master using expanding and fixed-width type boxes for typing text.
Then, as you create the flyer, you'll learn how to use the Type Tool and how to customize the text by changing some settings in the Properties panel.


4.2 Warped Type and Type on a Path
Watch video lesson (18 mins) ↗
The design so far looks OK, but you can do so much more with text in Photoshop. So now let's look at how to create curved text in Photoshop. You can see in the image below that we have curved text in a badge at the bottom right, and also a photographer's credit following the shape of a leaf in the top right.


To do this, we'll look at how to type on a path in Photoshop. Creating curved text is easier than you may think—just watch this video to learn how to get text to follow a curved line using the Type on a Path feature.


And to distort your text in all sorts of interesting ways, you can use the Warp Text options.


5. Layer Styles
5.1 Layer Styles and Effects
Watch video lesson (17 mins) ↗
Let's go to the next Photoshop for beginners tutorial: Layer styles allow you to add all sorts of effects to your designs. You can add shadows, bevel, emboss, and many other styles to text and images.
So in this part of the course, you'll learn how to add a drop shadow in Photoshop. You'll create a text shadow and then use Photoshop layer styles to add a bevel, emboss, and strokes to text and images.


You'll also learn how to create other Photoshop effects, such as a gradient overlay.


The Comprehensive Guide to Bevel & Emboss
Want to dive into more detail on Bevel & Emboss layer styles? Check out our comprehensive video guide:

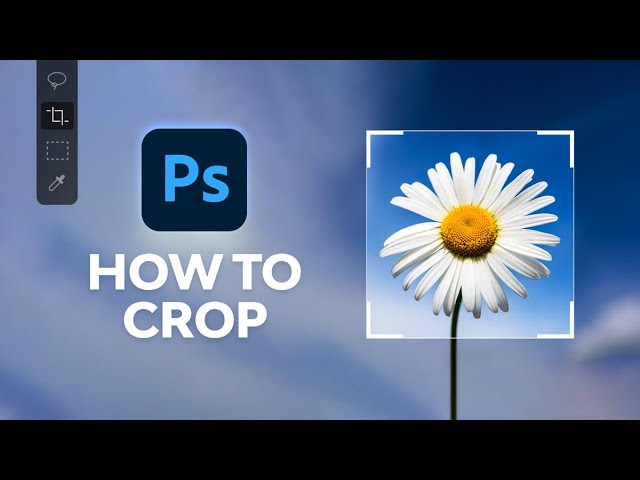
6. Cropping and Resizing
6.1 How to Crop
Now you'll learn how to crop an image in Photoshop. First, we'll perform simple crops on images, including cropping and rotating at the same time.


And after that, you'll learn more details, such as:
- how to crop images to specific dimensions for printing
- how to do a Content Aware crop, in which Photoshop creates additional background imagery to fill in any empty space
This second technique is particularly useful when you're converting an image from portrait to landscape or vice versa, so watch the video to see how it's done.
You can also watch a dedicated Photoshop beginner tutorial video about it:
6.2 Resizing and Resolution
Watch video lesson (10 mins) ↗
Of course, creating a beautiful image is no good if you don't have the right resolution and image quality. In the worst-case scenario, you might end up with something like this:


So in this part of the course, you'll learn how to resize an image in Photoshop without losing quality. You'll discover how resolution works and how it affects image quality and file size. This Adobe Photoshop course chapter covers all the best practices for resizing and exporting, so that you end up with something more like this:


7. Selections and Masking
7.1 Rectangle and Elliptical Marquee Tool
What if you want to put the universe inside a coffee cup? Yes, you can do that in Photoshop, just by using the Photoshop marquee tools.


This is a great way to pick up specific parts of an image. You'll get some practice using both the Rectangular Marquee Tool and the Elliptical Marquee Tool in this part of the Photoshop for beginners course. You'll then learn how to copy and paste selections into another image so that we can start making a collage and blending images together.
7.2 Clipping Masks
Clipping Masks are a quick, simple way to put images inside shapes and even text. Watch the video to see how to take the image on the left and put it inside the letter shown on the right. It's a powerful technique, and it's easier than you'd think! Using Photoshop doesn't need to be complicated!
Simple Image


Image With Clipping Mask


7.3 Quick Selection Tool
To learn Adobe Photoshop, you often need to take an image off its background so that you can put it somewhere else. The Quick Selection Tool is great for that.
For example, what if you wanted to extract this flower from its black background so that you can add it to the design shown below? That's exactly what you'll learn how to do in this part of the course.


7.4 Layer Masks
An important concept to learn in Adobe Photoshop is "non-destructive editing".
A great way to accomplish that is by using Layer Masks.


Watch the video to see how you can create the same "Dublin florists" image that we worked on before, but this time in a non-destructive way, by using a layer mask.
7.5 Select and Mask
Watch video lesson (12 mins) ↗
The flower we worked on before was quite easy to select because of its sharp edges and plain black background. But what if you need to make more complex selections, such as selecting a person with out-of-focus strands of hair? That's the next Photoshop for beginners tutorial.
Then you'll need Photoshop's Select and Mask feature. Let's see how to tidy up selections made with the Quick Selection Tool, starting with simple masks and then working through to harder ones. You'll see exactly how to select the model below and place her on a completely new background.


8. Smart Objects
8.1 Understanding Photoshop Smart Objects
Watch video lesson (12 mins) ↗
Another key technique in the area of non-destructive editing is a Smart Object.
Watch the video to learn how to use Smart Objects and why it's important to use them.


9. Transform & Warp
9.1 Transforming and Warping Layers
What if you wanted to put this logo onto this coffee cup? You can't just paste it on because the cup is rounded, so the logo needs to be distorted to make the perspective look realistic.


The solution is the Warp Tool in Photoshop. In this part of the Adobe Photoshop course, I'll show you how to warp a layer in Photoshop, how to resize a layer in Photoshop, and more.
While learning about these tools, you will also discover how to mock up a logo and make it look as if it's part of a real image:


10. Retouching
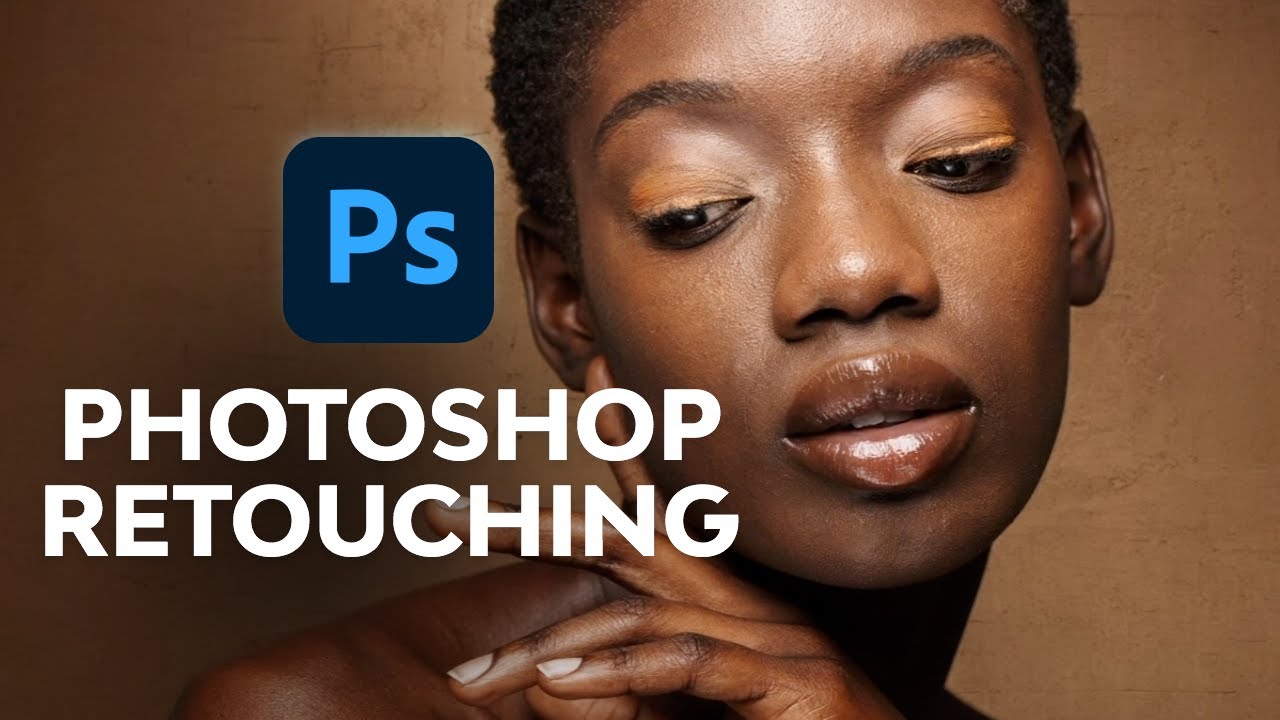
10.1 Retouching With the Photoshop Healing Brush
Now it's time to learn about an important retouching tool: the Spot Healing Brush. You can use this brush to do a few cool things:
Remove Graffiti From a Wall


Remove Blemishes From a Portrait


Remove a Person From a Photo


I'll teach you how to do all of those things, so watch the video and follow along on your own computer using the source files provided! And if you want to go into more detail, check out our free Photoshop retouching course:
10.2 Content-Aware Scale
What if you need to make an image wider? Of course, you don't want to just stretch it and make everything distorted. Fortunately, Photoshop provides a wonderful feature called Content Aware Scale, which lets you stretch an image and have Photoshop fill in the missing background:
Before


After


Watch the video for full instructions on completing this example and a few more as well!
11. Exporting
11.1 Exporting Images
Watch video lesson (10 mins) ↗
Now that we've created lots of great images, we need to export them from Photoshop so that they're ready for use in a print document, a website, or for social media.
So now let's look at how to export in Photoshop. We'll talk about the pros and cons of JPEG, PNG, and PSD files, and we'll also see how to create a Photoshop file ready for use with other Adobe software products such as InDesign, Illustrator, and After Effects.


12. Conclusion
12.1 What Next?
Congratulations! If you've followed every part of this Photoshop for beginners course, you should now have a solid understanding of the most important tools and techniques.
So now you're ready to move on and work on new projects. In this concluding video, we'll talk about what the next steps should be as you continue to learn how to use Photoshop more effectively. We will talk about the relevant next steps if you are a photographer, a marketer, or a web and UI designer.
Thank you for watching!
Discover More and Learn Adobe Photoshop!
Still want to learn more about Photoshop? Here are a few videos you'll love:

Or if you prefer written tutorials, try our huge library of free Photoshop tutorials. Here are a few Photoshop learning resources to get started with:

 What Is Adobe Photoshop?


 How to Make a Terminator Photo Effect in Photoshop


 How to Create a Surreal Broken Glass Effect in Adobe Photoshop


 How to Create a Quick Sparkling Diamonds Text Effect in Adobe Photoshop

- How to Create an Acid Photo Effect in Photoshop


 Learn How to Draw Hand-Crafted Pixel Art in Photoshop

 How to Make a Triangle in Photoshop


